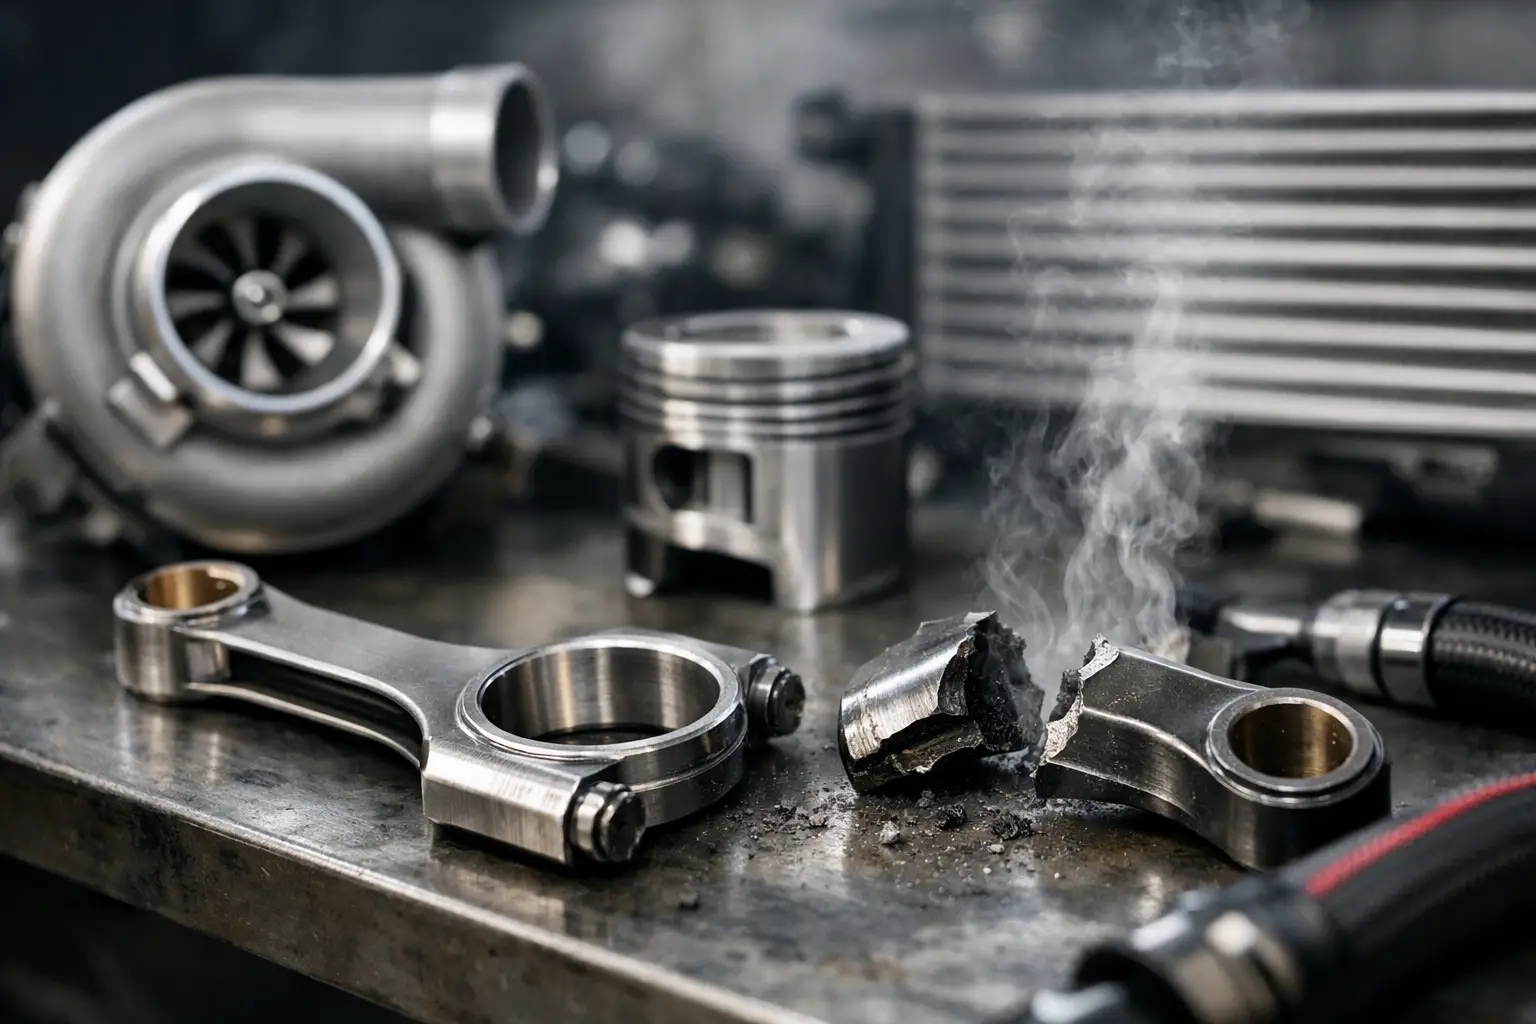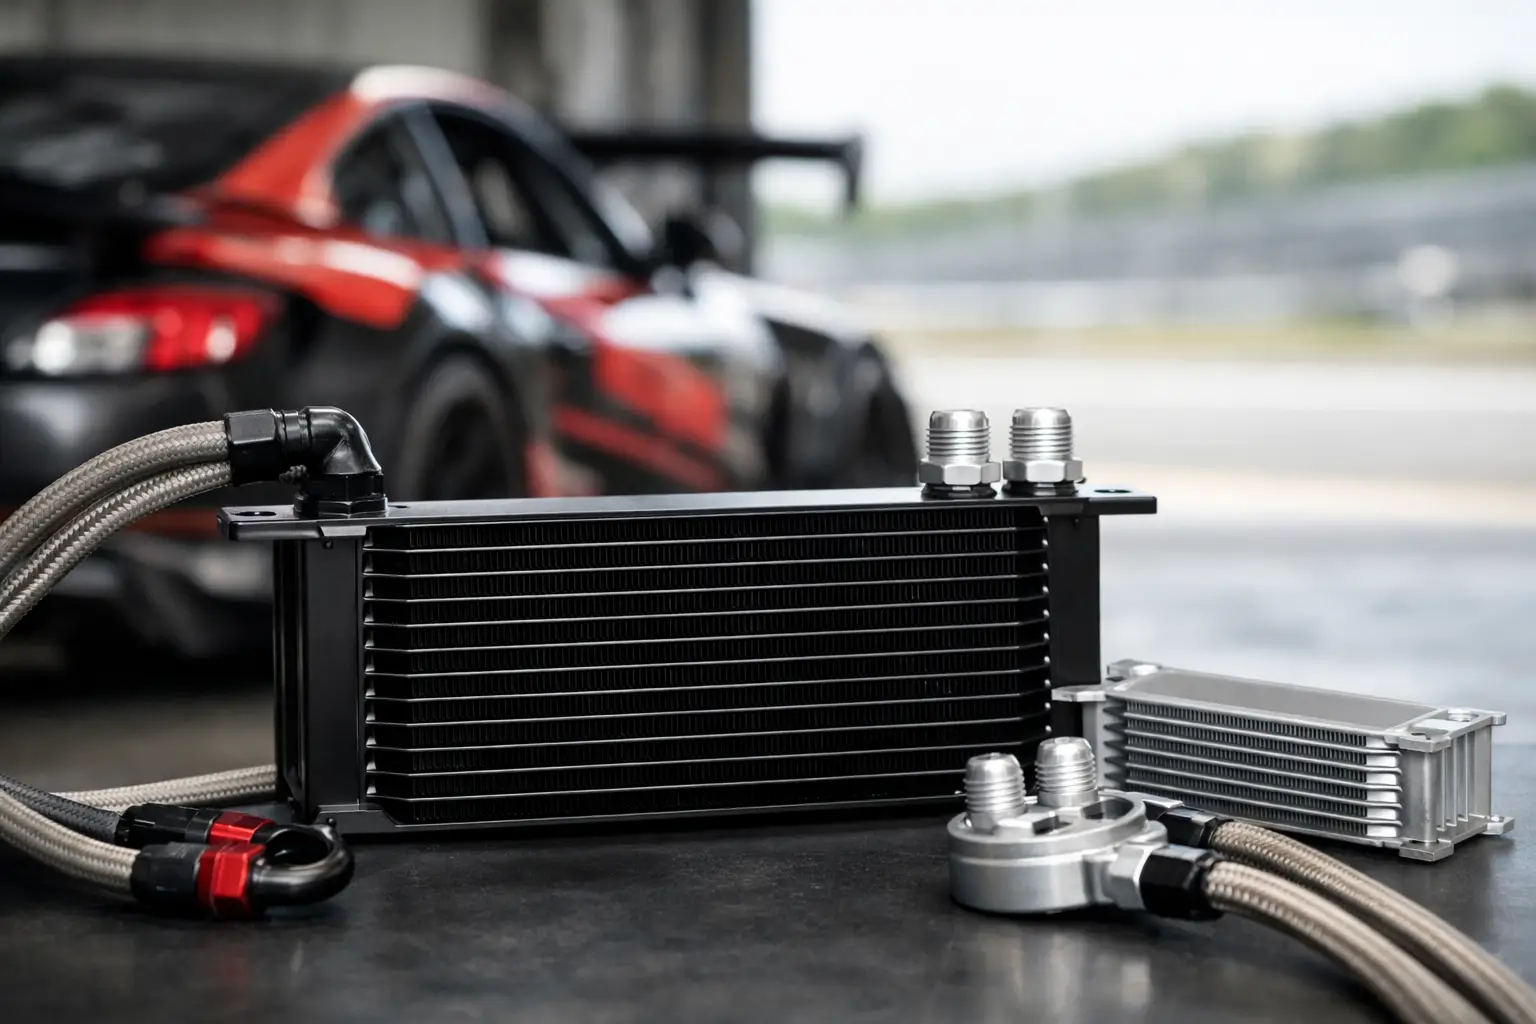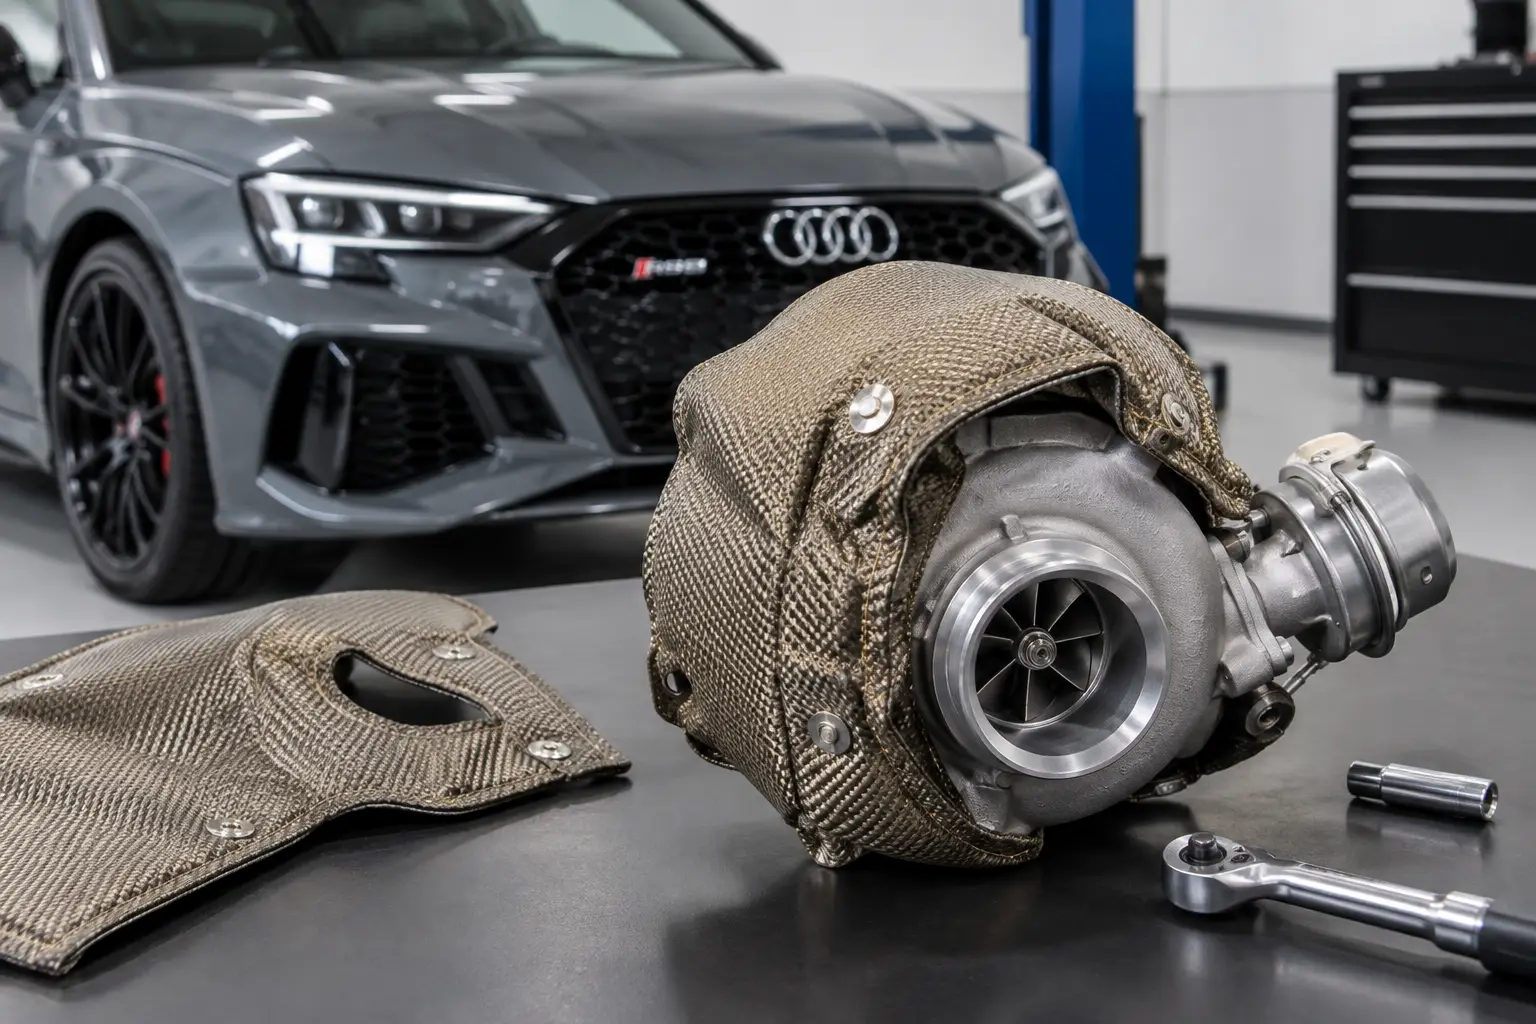
The 2.5T five-cylinder rewards serious power upgrades, but it also puts intense heat into a tightly packaged engine bay. When you install an Audi RS3 turbo blanket correctly, you help keep radiant turbine-side heat away from nearby wiring, hoses, intake components, and the surrounding bay. The job is straightforward for an experienced DIY owner or shop, but clearance and retention matter far more than simply wrapping the turbo and closing the hood.
A quality blanket is not a substitute for proper heat management across the whole build. It is one part of a system that may also include a turbo inlet, downpipe heat shielding, upgraded charge-air cooling, protected fluid lines, and a sound tune. On a stock-frame setup, it can improve underhood thermal control. On a larger hybrid or full-frame turbo configuration, careful fitment inspection becomes even more critical.
Before You Install an Audi RS3 Turbo Blanket
Start by confirming the blanket is built for your exact turbocharger and vehicle configuration. An 8V RS3, 8Y RS3, and TTRS can share the 2.5TFSI architecture, but turbocharger location, compressor housing geometry, wastegate hardware, and aftermarket conversion parts can change what fits cleanly. A blanket designed around the OE turbo may not properly cover a larger hybrid housing or an aftermarket manifold-mounted turbo.
Do the work only on a completely cold engine. The turbine housing, downpipe, and adjacent heat shields retain enough heat to cause serious burns long after the car has been shut down. Raise the vehicle safely if access from below is needed, and give yourself enough room to inspect both the top and underside of the turbo area.
Before touching the blanket, inspect the surrounding hardware. Look closely at the downpipe fasteners, V-band or clamp arrangement, oxygen sensor harnesses, coolant lines, oil feed and return lines, wastegate actuator wiring, and any aftermarket boost-control components. A turbo blanket should never trap a line against the turbine housing or place tension on a connector.
It is also the right time to identify existing leaks. Oil residue near the turbo should be corrected before installation. A blanket can absorb fluids, smoke heavily, and mask the source of a problem if it is installed over an active leak. The same applies to damaged insulation on wiring or heat-brittle vacuum lines.
Tools and Preparation
Most installations do not require specialty equipment, but the right basic tools prevent rushed work. Have a ratchet and socket set, trim tools, a small inspection mirror, work light, gloves, and the tools required to remove your specific engine cover, intake pipe, turbo inlet, or heat shield. Some applications are accessible from above once the intake tract is removed. Others benefit from partial underbody access.
Do not plan on using generic zip ties as the primary retention method. They are not designed for sustained turbine-side temperatures. Use the stainless locking wire, springs, straps, or other retention hardware supplied with the blanket. If replacement hardware is needed, choose material rated for the environment rather than improvising with standard hardware-store parts.
Take a few photos before disassembly, especially if the car has a custom intake, auxiliary fueling, external wastegate plumbing, or a hybrid turbo kit. High-horsepower RS3 builds often have more hardware near the turbo than a factory vehicle, and reference photos make reassembly faster.
Step-by-Step Turbo Blanket Installation
1. Gain clear access to the turbine housing
Remove only what is necessary to reach the hot side of the turbo. On many RS3 applications, that means removing the engine cover and intake components around the rear/side of the engine bay. If a factory heat shield blocks access, remove it according to its fastener layout and set the hardware aside in order.
Avoid forcing tools past wiring or hoses. The goal is to create enough room to place the blanket around the turbine housing without snagging its inner material or crushing nearby components.
2. Test-fit the blanket before securing it
Place the blanket around the turbine housing with the opening and seams oriented as intended by the manufacturer. The blanket should cover the hot housing closely without being pulled so tightly that it distorts around the wastegate actuator, turbine outlet, or downpipe connection.
On an internally wastegated stock-frame or hybrid turbo, make sure the blanket does not restrict actuator movement, contact the actuator rod, or pinch its electrical connector. On an external wastegate setup, verify clearance to the wastegate body, dump tube, and any heat-protected boost reference hoses.
A close fit is correct. A blanket that must be aggressively stretched into place is usually wrong for the turbo, incorrectly oriented, or blocked by a component that needs to be repositioned.
3. Route retention wire or springs with intention
Use the supplied retention points to secure the blanket around the housing. Route stainless wire or springs so they hold the blanket in position without crossing directly over vulnerable sensor wiring, oil lines, or coolant hoses. Keep the hardware compact and away from moving drivetrain components.
Tighten or tension the retainers gradually. The blanket should not slide or rotate under light hand pressure, but there is no benefit in cinching the material so hard that the seams are strained. If the blanket uses locking wire, twist and fold the wire tail neatly away from wiring and hoses. Sharp wire ends can create a future problem in a vibrating engine bay.
4. Confirm clearance at the outlet and surrounding components
The area around the turbine outlet and downpipe deserves a second inspection. Make sure the blanket does not interfere with a V-band clamp, downpipe mounting points, oxygen sensor bungs, or the sensor harness. The blanket should not be trapped between mating surfaces or folded into a position that compromises exhaust sealing.
Then inspect every line and harness within the immediate area. There should be visible clearance, proper heat sleeving where needed, and no component held against the blanket by tension. This is especially relevant on cars with upgraded fueling, ethanol sensor kits, catch cans, or aftermarket turbo inlet systems.
5. Reinstall removed parts and check hood clearance
Reinstall the intake system, heat shields, engine cover, and any undertrays removed for access. Confirm clamps are fully seated and every electrical connector is reconnected. A loose intake connection after turbo blanket work can create a boost leak or drivability issue that has nothing to do with the blanket itself.
Before starting the car, inspect the area one final time with a bright light. Check that no tools remain in the engine bay and that the blanket cannot contact a belt, fan, linkage, or other moving part. If the installation required moving an OEM shield, verify it is secured and not rattling against the blanket or exhaust.
First Heat Cycle and What to Expect
A new turbo blanket may produce a light odor or a small amount of smoke during its initial heat cycles. This is commonly caused by manufacturing residue or the outer material settling into service. It should be temporary. Persistent smoke, a strong burning smell, or visible scorching on nearby components calls for an immediate inspection.
Let the car idle briefly, then monitor the turbo area with the hood open from a safe distance. Do not reach near the turbine housing once heat is present. After the engine has fully cooled, recheck the retention hardware and look for signs that the blanket shifted toward the downpipe clamp, wastegate hardware, or wiring.
For a tuned RS3 that sees repeated wide-open-throttle pulls, track sessions, or drag-strip use, inspect the blanket again after several heat cycles. Higher exhaust gas temperatures and sustained load can expose fitment issues that are not obvious during an idle check. This is particularly true for 800-horsepower-plus builds with larger turbochargers and custom fabrication around the hot side.
Fitment Mistakes That Cost Time
The most common mistake is ordering by vehicle name alone instead of verifying the turbo setup. “RS3 turbo blanket” can mean very different products depending on whether the car uses the OE turbo, a hybrid unit, or a full-frame conversion. Confirm turbine housing dimensions, wastegate type, and kit-specific requirements before purchase.
Another mistake is assuming more insulation always means better results. A well-fitted blanket can reduce radiant heat exposure, but it also retains more heat around the turbine housing. That is generally the point, yet it makes proper material quality, surrounding clearances, and routine inspection non-negotiable. Cars used in competition or extreme street conditions may need a broader heat-management plan rather than a blanket alone.
Finally, do not ignore a blanket that rubs or shifts after installation. Correcting a retention issue while the engine is cold is quick. Waiting until a harness is heat-damaged, a sensor lead is chafed, or a line has been pulled out of position is expensive.
For a serious 2.5T build, select parts around the actual turbo configuration, not a generic fitment label. If the fitment is unclear, EAS Store can help identify premium heat-management components that make sense for your RS3’s power level and hardware. A few minutes spent verifying the hot-side layout before installation protects the components that keep your five-cylinder running hard.