A hard-launching MQB car that thumps on every shift, or a tuned BMW that feels vague when you roll back into the throttle, may not need more power. It may need better control of the power it already makes. Knowing how to upgrade engine mounts helps eliminate excessive drivetrain movement before it becomes missed shifts, wheel hop, exhaust contact, or accelerated wear on surrounding components.
Engine mounts are rarely a flashy purchase. They are, however, one of the upgrades that makes a modified car feel more connected from the driver’s seat. The key is choosing the correct mount design and durometer for the vehicle, transmission, power level, and how the car is actually used.
What upgraded engine mounts actually change
Factory mounts are engineered around broad customer expectations: low cabin noise, low vibration, smooth idle quality, and acceptable durability under stock power. Many modern European platforms also use fluid-filled or electronically controlled mounts to isolate vibration even further. That works well on a daily-driven stock vehicle, but soft mounts allow the engine and transmission assembly to rotate under load.
More movement changes more than feel. The drivetrain can unload and reload during a shift, making manual gear changes less precise and adding delay to a dual-clutch or automatic car’s response. On front-wheel-drive and all-wheel-drive transverse applications, movement can contribute to wheel hop. On longitudinal BMW, Audi, and Mercedes platforms, it can affect shift consistency, driveline response, and the way the car takes a set under hard acceleration.
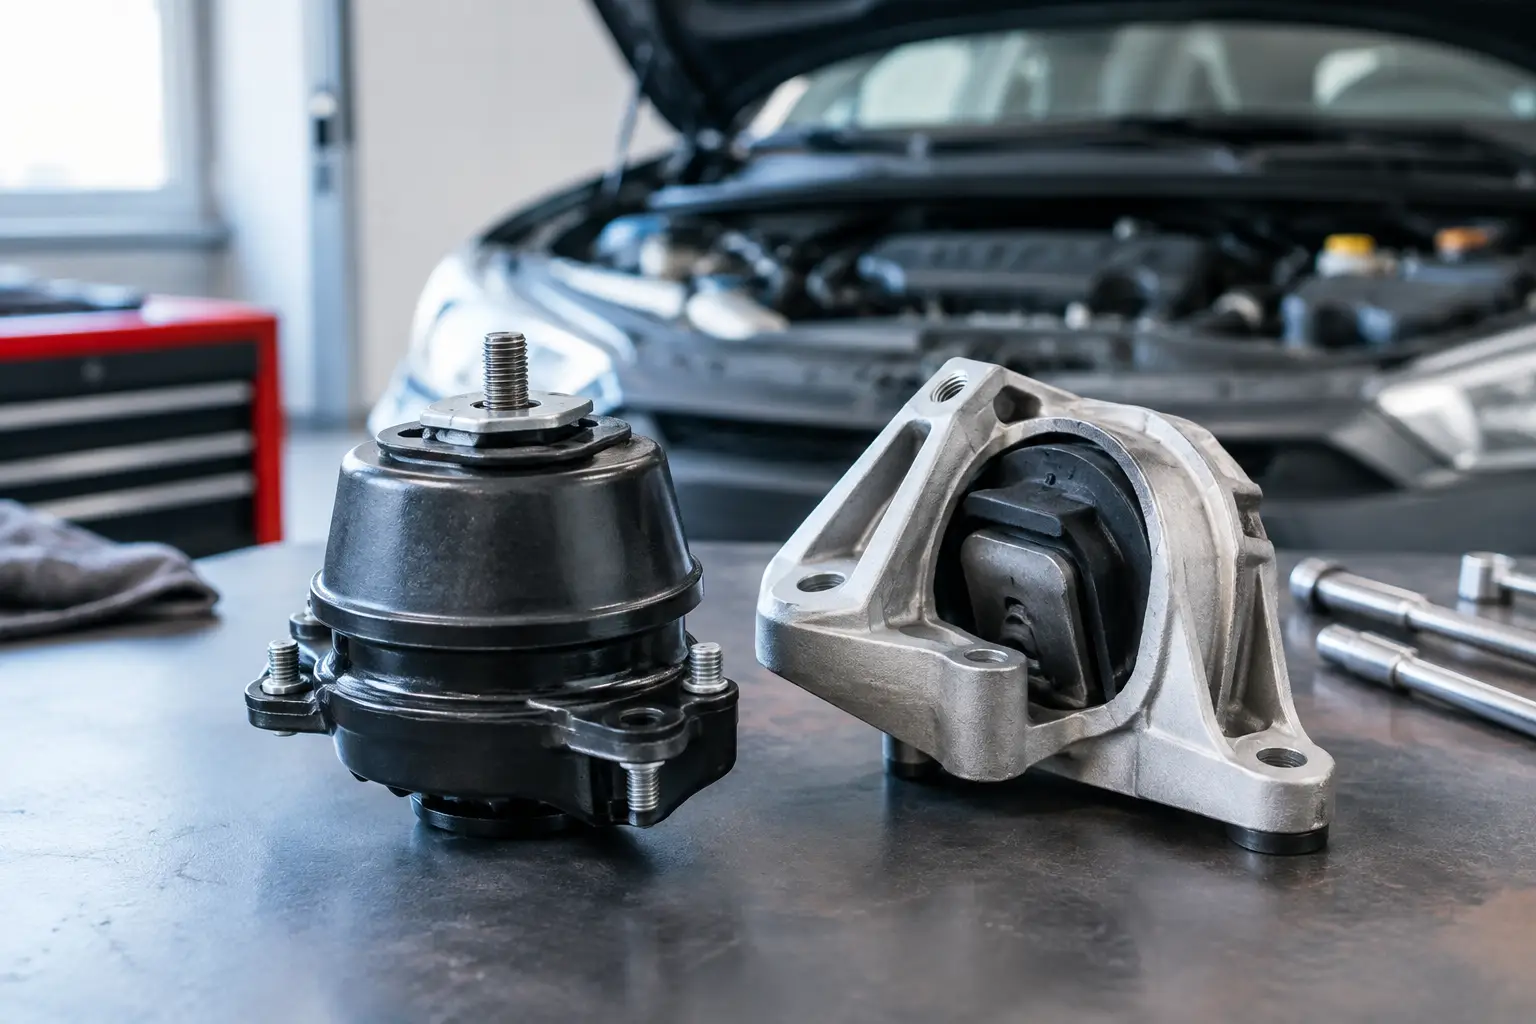
An upgraded mount uses firmer rubber, polyurethane, billet aluminum housings, or a combination of these materials to limit that movement. The payoff is a tighter throttle transition, more direct shifting, and better control when torque rises well beyond factory levels. The trade-off is noise, vibration, and harshness, usually shortened to NVH. There is no mount upgrade that can completely avoid that compromise.
How to upgrade engine mounts for your build
Start with the exact vehicle application, not just the badge on the trunk. A 2.0T MQB car, an Audi RS3 2.5TFSI, and a BMW G8X S58 may all be modified performance vehicles, but their mount layouts, factory systems, and common failure points are very different. Confirm model year, chassis, engine code, transmission type, and whether the car has active or electronic factory mounts before ordering parts.
Then define the job. A street car with a mild tune needs a different solution than a drag-oriented build on upgraded turbos or a road-course car that repeatedly sees high lateral load. Matching mount stiffness to the use case is what separates a controlled performance upgrade from a car that buzzes unpleasantly at every stoplight.
For most builds, consider the system as three connected points: the engine-side mount, the transmission-side mount, and the lower pendulum, torque, or dogbone mount where applicable. Replacing only one worn soft mount can improve a problem, but it may also transfer load to the remaining factory pieces. A balanced package generally produces more predictable results.
Choose material and stiffness honestly
Performance rubber mounts are often the best street-focused option. They retain a more factory-like character while offering greater support and heat resistance than aging OE rubber. They suit tuned daily drivers, fast street cars, and owners who value refinement alongside sharper response.
Polyurethane mounts are commonly offered in multiple durometers. A lower-durometer bushing can be effective for a spirited street car, while a firmer compound better suits track use and higher-torque applications. Poly controls drivetrain movement well, but it can transmit vibration into the cabin, especially at idle and during low-rpm operation.
Solid or billet mounts deliver the highest level of control and are appropriate for dedicated track, drag, or competition cars. They also transmit the most NVH. On certain platforms, the cabin may resonate at specific rpm ranges, and interior trim, exhaust systems, or other components may reveal noises that were previously masked by compliant factory mounts. That does not automatically mean the installation is wrong. It means the car is now less isolated.
If your vehicle is a daily driver, avoid choosing the stiffest option simply because it is marketed for the highest horsepower figure. Torque delivery, clutch type, tire choice, and intended use matter as much as peak power. A well-chosen street mount can transform a 450-horsepower car. A race-spec solid mount may be unnecessary unless the rest of the build demands it.
Inspect the surrounding drivetrain before installation
A mount upgrade can expose existing issues rather than create them. Before disassembly, inspect the drivetrain and nearby hardware for signs of wear. Look for torn factory rubber, collapsed hydraulic mounts, leaked fluid from active mount assemblies, worn pendulum bushings, loose subframe hardware, damaged heat shields, and exhaust sections sitting too close to the chassis.
Also check the condition of drivetrain inserts, transmission mounts, differential mounts, and engine torque arms where the platform uses them. Installing a stiffer engine mount while leaving a visibly failed transmission mount in place limits the benefit and can create an uneven feel under load.
If the car has an active-mount system, verify whether the selected aftermarket kit retains electronics, provides a simulator, or requires coding changes. Ignoring that detail can leave a warning light on the dash or cause fault codes immediately after the job. Premium fitment means more than whether a part physically bolts in.
Installation details that protect the result
Engine mount work requires safe support of the engine or transmission before any mount fasteners are removed. Depending on the platform, that may mean an engine support bar from above, a properly positioned jack with a broad support pad from below, or both. Never rely on a mount bolt or an improvised block of wood to carry drivetrain weight while working underneath the car.
Follow the manufacturer’s installation procedure and torque specifications exactly. Many European applications use torque-to-yield fasteners, particularly around subframes, brackets, and mount hardware. Those bolts are designed for one-time use and should be replaced when specified. Reusing them to save a few dollars is a poor decision on a component that supports the engine and controls drivetrain load.
Do not fully tighten every fastener the moment it is installed. Mount brackets often need to be loosely positioned first so the engine and transmission can settle naturally in the chassis. Once the assembly is aligned, torque the hardware in the prescribed sequence. Preloading a mount in the wrong position can create unwanted vibration, shorten bushing life, and leave the drivetrain sitting slightly off-center.
On subframe-equipped cars, pay close attention to alignment. If the subframe is lowered or removed, use the correct locating method during reassembly. Even a small shift can affect steering wheel centering, suspension geometry, and axle position. An alignment check after substantial subframe work is smart insurance.
Expect a break-in period
Fresh mounts often feel firmer during the first few heat cycles and miles. Rubber and polyurethane components settle, hardware seats, and the driver becomes more aware of feedback that the old mounts filtered out. Give the setup time before judging it.
What should not be ignored is a sharp metallic knock, severe new vibration at all rpm, a visible exhaust contact point, or a drivetrain position that looks incorrect. Recheck torque, bracket orientation, clearances, and fastener specifications if those symptoms appear. A mount kit should make the car feel more deliberate, not mechanically distressed.
Pair mounts with the upgrades that benefit most
Engine mounts deliver the strongest value when they support the rest of the drivetrain package. A tuned turbo car with higher boost and torque will load the mounts far harder than stock. The same applies to cars running upgraded clutches, aggressive launch control, stickier tires, larger turbos, or ethanol-based fueling that substantially raises midrange torque.
For a transverse Volkswagen or Audi platform, a lower dogbone or pendulum mount insert can be a useful first step, but it is not always a replacement for worn upper engine and transmission mounts. For rear-wheel-drive and all-wheel-drive BMW, Mercedes, and Audi platforms, transmission and differential mounts may deserve equal attention when the goal is clean power delivery.
The right approach is not to make every bushing solid. It is to identify where unwanted movement is occurring and reinforce that area without making the vehicle unsuitable for its mission. A weekend track car can tolerate more feedback than a commuter that spends an hour a day in traffic.
Buy for fitment, not just stiffness
Engine mount upgrades are platform-specific hardware, and small differences matter. Mount configurations can change across production years, engine variants, transmission options, and factory active-mount packages. Verify every detail before purchase, especially on vehicles with swapped engines, upgraded transmissions, or prior collision repairs that may have changed brackets or subframes.
For serious European performance builds, EAS Store can help narrow the options to mounts that match your chassis, engine code, and performance target. The best mount is not the hardest one available. It is the one that keeps the drivetrain controlled when the car is used exactly the way you built it.